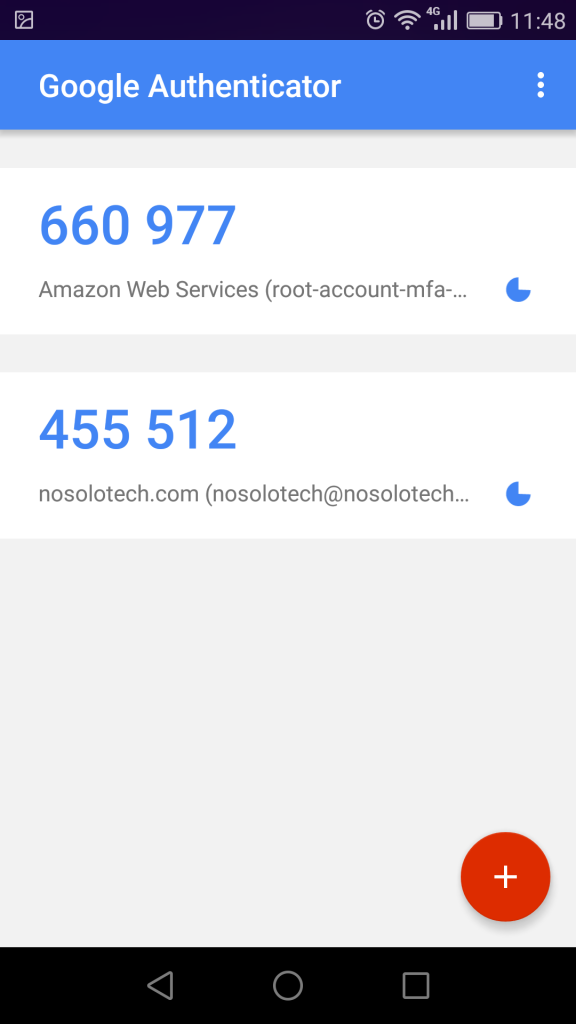
En este tutorial, vamos a habilitar autenticación multi-factor para mejorar la seguridad de un VPS. Con Multi-factor authentication, generamos el uso de otro dispositivo para poder hacer login en el server:
Instalación sobre Red Hat/Centos 7
yum install https://dl.fedoraproject.org/pub/epel/epel-release-latest-7.noarch.rpm
yum install google-authenticator
[nosolotech@nosolotech ~]$ google-authenticator
Do you want authentication tokens to be time-based (y/n) y
Warning: pasting the following URL into your browser exposes the OTP secret to Google:
https://www.google.com/chart?chs=200×200&chld=M|0&cht=qr&chl=otpauth://totp/nosolotech@nosolotech.com%3Fsecret%3DAROTEKC3J2CUREIOA2YQG5EJQY%26issuer%3Dnosolotech.com
ahora se mostratará en pantalla un código QR similar a este:

Your new secret key is: AROTEKC3J2CUREIOA2YZG5EJQY
Your verification code is 695098
Your emergency scratch codes are:
71427553
39228884
16220923
52121253
72678821
Do you want me to update your «/home/nosolotech/.google_authenticator» file? (y/n) y
Do you want to disallow multiple uses of the same authentication
token? This restricts you to one login about every 30s, but it increases
your chances to notice or even prevent man-in-the-middle attacks (y/n) y
By default, a new token is generated every 30 seconds by the mobile app.
In order to compensate for possible time-skew between the client and the server,
we allow an extra token before and after the current time. This allows for a
time skew of up to 30 seconds between authentication server and client. If you
experience problems with poor time synchronization, you can increase the window
from its default size of 3 permitted codes (one previous code, the current
code, the next code) to 17 permitted codes (the 8 previous codes, the current
code, and the 8 next codes). This will permit for a time skew of up to 4 minutes
between client and server.
Do you want to do so? (y/n) n
If the computer that you are logging into isn’t hardened against brute-force
login attempts, you can enable rate-limiting for the authentication module.
By default, this limits attackers to no more than 3 login attempts every 30s.
Do you want to enable rate-limiting? (y/n) y
Reconfiguramos OpenSSH:
editar /etc/pam.d/sshd
y añadir al final del fichero la siguiente línea «auth required pam_google_authenticator.so nullok»
# Used with polkit to reauthorize users in remote sessions
-session optional pam_reauthorize.so prepare
auth required pam_google_authenticator.so nullok
Ahora indicaremos a SSH que soporte este tipo de autenticación:
Editar /etc/ssh/sshd_config
y cambiar el parámetro:
# Change to no to disable s/key passwords
ChallengeResponseAuthentication yes
Reiniciamos el servicios SSH:
systemctl restart sshd.service
Ahora, al hacer login en el servidor, solicitará la clave de MFA:
login as: nosolotech
Using keyboard-interactive authentication.
Password:
Using keyboard-interactive authentication.
Verification code:
Last login: Sat Mar 21 10:56:47 2020 from 192.168.87.1
[nosolotech@nosolotech ~]$